Installation
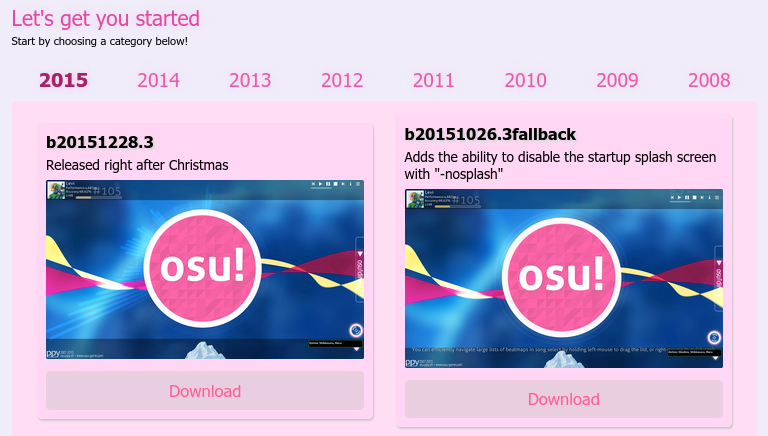
To begin playing on Titanic!, head over to the Download page and pick any client from as old as 2007 up to 2015.

After it finishes installing, extract the folder and double-click osu!.exe.
There is a chance that Windows Defender may block it since the game is unsigned (certificate for signing would cost $200). An alternative would be to use the Patcher, which is still experimental, but does not get blocked by Windows Defender from our testing.
Registering an account
To register an account you can go to the registration page by clicking on "I'm New!" (Remember you are only allowed to have ONE account EVER!)

After you create your account you will be prompted to verify your email:

Linux Installation
Prerequisites
Install git
Ubuntu/Debian: sudo apt install -y git
Arch Linux: sudo pacman -Sy --needed --noconfirm git
Fedora: sudo dnf install -y git
Install Lutris
Ubuntu/Debian: https://github.com/lutris/lutris/releases (Get the .deb package from here)
Arch Linux: sudo pacman -S lutris
Fedora: sudo dnf install lutris
Flatpak: flatpak install flathub net.lutris.Lutris
Install graphics drivers
If you haven't done so, you can refer to this guide:
https://github.com/lutris/docs/blob/master/InstallingDrivers.md
Pipewire
Pipewire performs much better on osu! than Pulseaudio, you can install it by following this guide:
https://github.com/NelloKudo/osu-winello/wiki/Installing-PipeWire
Installation of osu-winello
osu-winello, developed by NelloKudo, is currently the best way to get osu! stable running on Linux. We'll use it to launch our Titanic installations later on.
Follow these commands for setup:
git clone https://github.com/NelloKudo/osu-winello.git
cd osu-winello
chmod +x ./osu-winello.sh
./osu-winello.sh
Once you have osu! stable up and running with the osu-wine command, you can proceed with the installation of Titanic!
Download the Titanic client
You can download any patched osu! version from the downloads page.
Install Titanic through Lutris
Unzip the .zip file downloaded from Titanic to get your osu! installation folder.
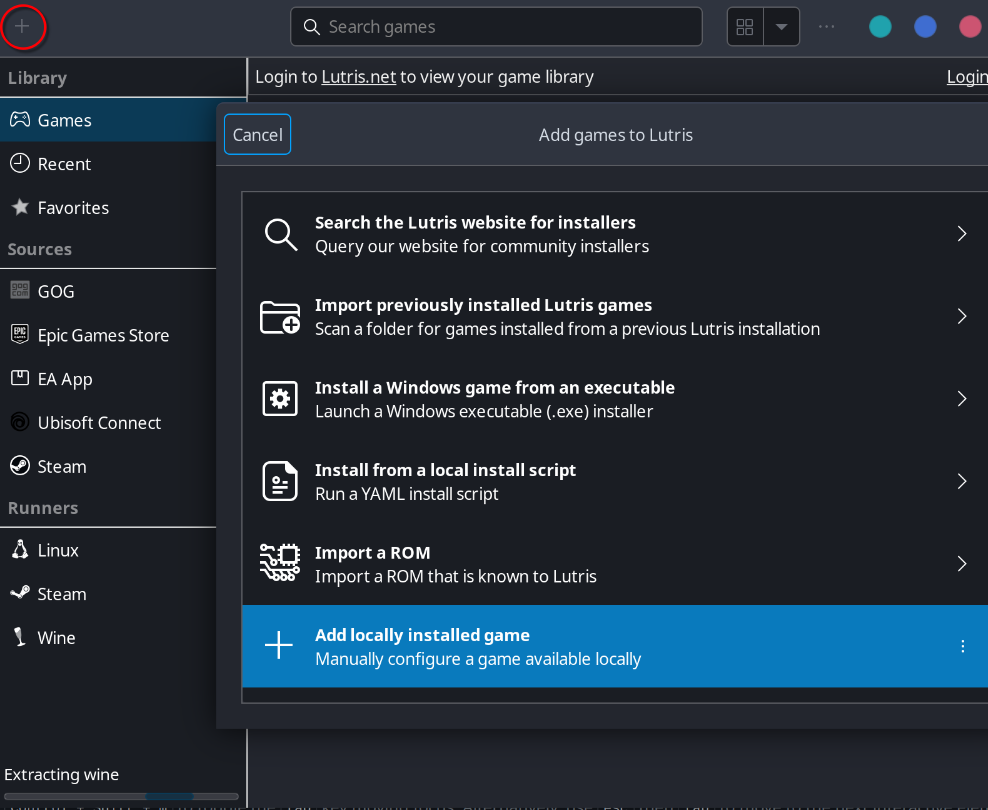
Open Lutris and let it load fully for first startup.
Then click the plus icon on top left -> select "Add locally installed game".
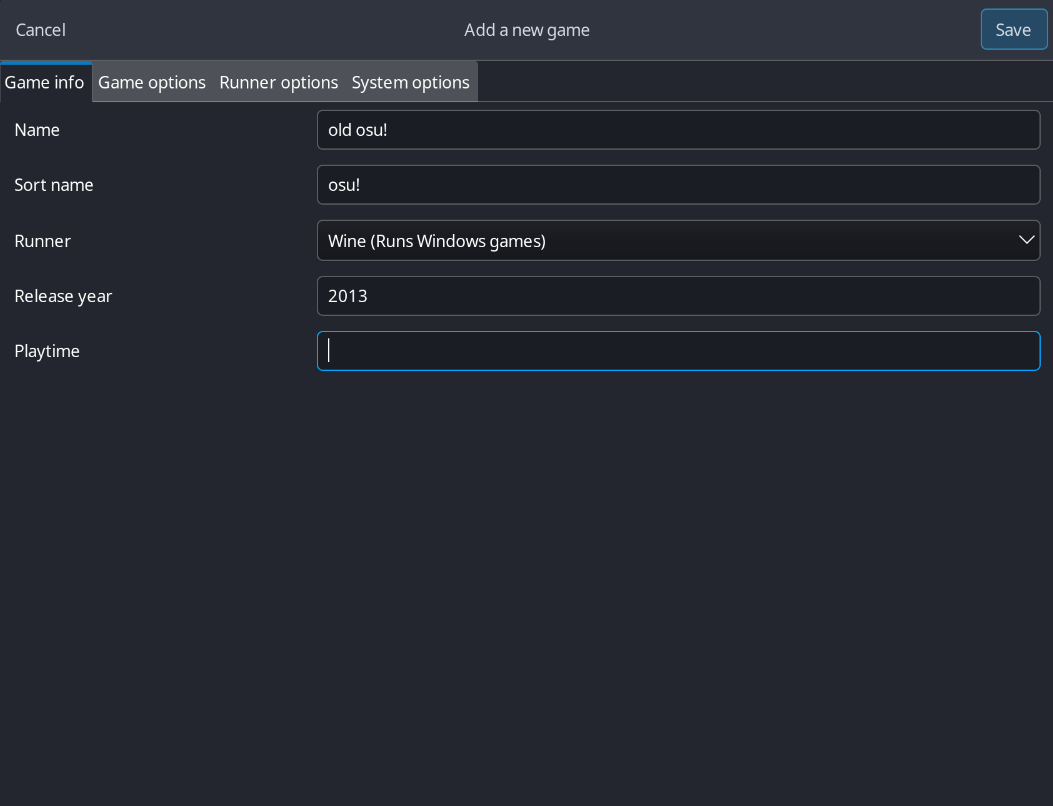
Give it a proper name and such, and set the runner to Wine.
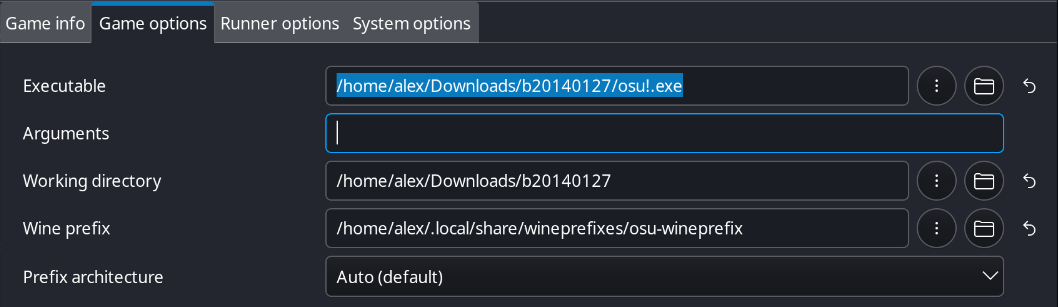
In Game options:
Set the executable to the osu.exe inside of the zip you extracted.
Set working directory to the osu! folder of the zip you extracted.
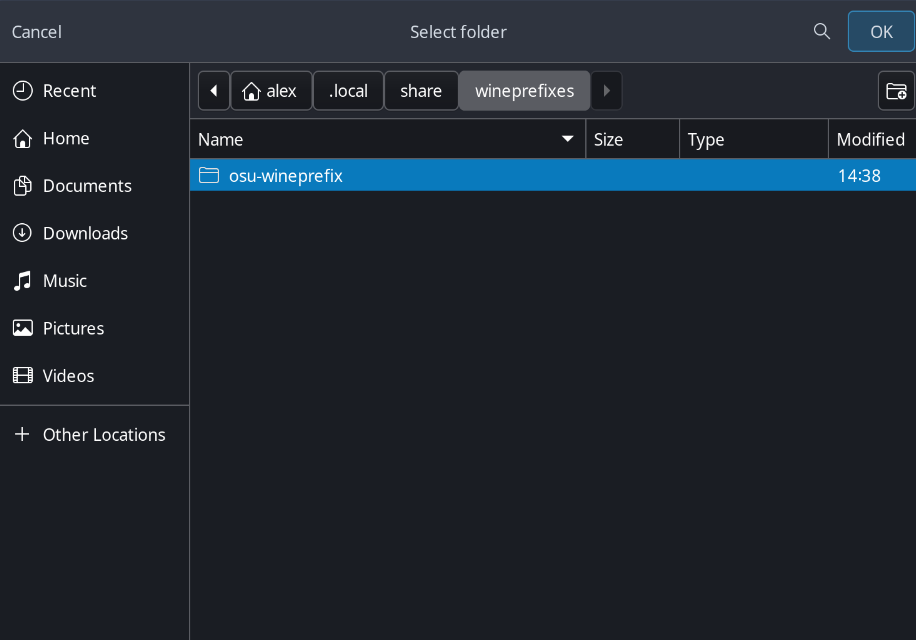
Set the wine prefix to ~/.local/share/wineprefixes/osu-wineprefix.
In Runner options:
Set ~/.local/share/osuconfig/yawl-winello as the Wine version:

Turn off DXVK and VKD3D:

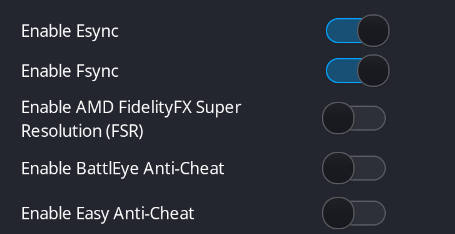
Make sure ESync and FSync are enabled.
Additionally, disable AMD FSR, BattlEye Anti-Cheat and Easy Anti-Cheat.
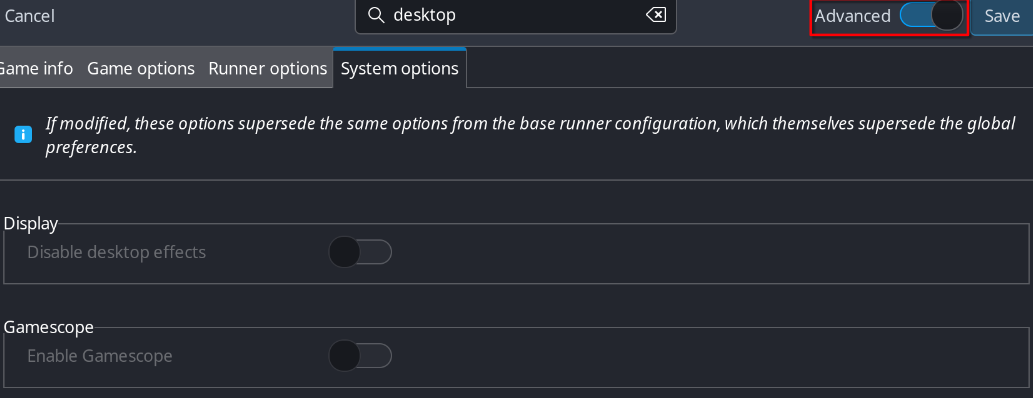
In System options:
Turn on "Advanced" mode then switch "Disable desktop effects" on:
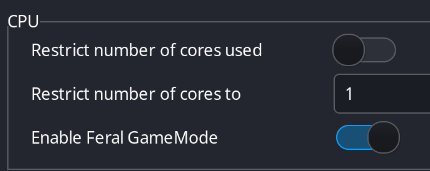
Enable Feral Gamemode:
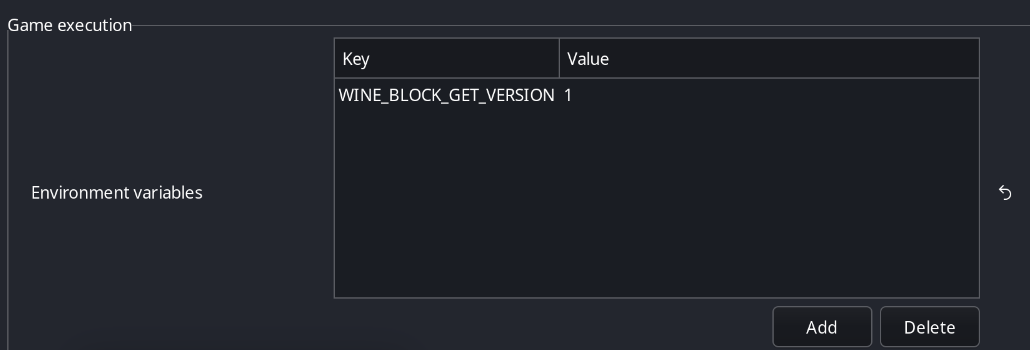
Scroll down until you see Environment Variables.
Click add.
On the left side put WINE_BLOCK_GET_VERSION.
On the right side put 1.
This is what it should look like:
Now from here you can launch osu! and enjoy!
NOTE: Be sure to set the offset to around -30 to -20 ms offset. Then the audio will be like Windows!
Note for Wayland users
If you're running on wayland, you may have to apply the tweaks listed here:
https://github.com/NelloKudo/osu-winello/wiki/Wayland-support
If you have any issues do not be afraid to ask in the Titanic! Discord server or in the support sub-forum.
macOS Installation
Prerequisites
To run Titanic! on a Macintosh computer, you'll need the following things:
- A supported macintosh (2011 or later)
- A client from the downloads page
- The correct wineskin
Make sure your Mac is running an operating system above High Sierra, as it is required for the best performance and this guide. Although it might run on High Sierra, most browsers don't support GitHub.
For the best performance, please make sure your Mac is from 2011 or later. A 2008 one may run it, but 2011 or later is recommended. It also has to support 32/64 bit capabillites.
Installation
- Make sure you have downloaded a client from the downloads page and the correct wineskin, as outlined in the beginning of this document.
- Once you have extracted both of them, head into the osu! application package by right-clicking and selecting Show Package Contents.
- Now navigate to drive_c -> osu!. Here's the location where we're going to place the osu! client. Go back to your folder, where you extracted your desired client, copy every file thats inside, and paste it inside the drive_c -> osu! folder.
- Double-click the now updated osu! application, and start clicking circles!
Disabling System Integrity Protection (SIP)
Important! If your Mac is running any Catalina version below 10.15.5, you'll need to disable System Integrity Protection (SIP).
To disable SIP, follow these steps:
- Restart your computer in Recovery mode.
- Turn on your Mac and immediately press and hold these two keys: Command (⌘) and
R. - Release the keys when you see an Apple logo, spinning globe or other startup screen.
- You may be prompted to enter a password, such as a firmware password or the password of a user who is an administrator of this Mac.
- Launch Terminal from the Utilities menu. It should be in the menu bar at the top of your screen.
- Run the command
csrutil disable. - Restart your computer. You can do so from the top menu bar, just like you would normally.
- Once you have SIP disabled, let it boot up normally, login, and you can then begin to install osu!.
Troubleshooting with osu!macOS Agent
If you encounter issues with the installation process, you might want to try the osu!macOS Agent, developed by Technocoder. You can download it from the "macOS Installation Guide" forum post.
- Open osu!macOS Agent
- Select your osu! application package
- Click on the Troubleshoot tab
- Click the Scan button
- Click the Repair button
- Now restart osu! to see if your issue was fixed
There's still a good chance that it will not work. If that is the case, don't be afraid to ask for support in the Titanic! Discord server or in the support sub-forum.